If your 3D prints are coming out rough instead of smooth, you’re not alone. This is one of the most common problems in 3D printing, especially for beginners using PLA. The good news? Most rough surface issues are easy to fix with a few simple adjustments.

1. Incorrect Layer Height
One of the main reasons your 3D prints look rough is using the wrong layer height. If the layer height is too large, the print will show visible lines and feel uneven. For smoother results, try using a layer height between 0.12 mm and 0.2 mm. Lower layer heights produce finer details and a much smoother finish.
2. Printing Temperature Issues
Temperature plays a huge role in surface quality. If your nozzle temperature is too high, the filament can become too soft and create blobs or uneven surfaces. If it’s too low, layers may not bond properly, causing a rough texture. For PLA, a temperature between 190°C and 210°C usually works best.
3. Printing Speed Too High
Printing too fast can reduce print quality significantly. When the printer moves too quickly, it doesn’t have enough time to properly lay down each layer. This often results in rough and messy surfaces. Try reducing your print speed to around 40–60 mm/s for better results.
4. Poor Cooling
Cooling is essential for achieving smooth 3D prints. If your cooling fan is not working properly or is set too low, the filament won’t solidify correctly. This can lead to surface imperfections. Make sure your part cooling fan is enabled and working at optimal levels, especially when printing PLA.
5. Worn or Low-Quality Nozzle
A worn-out or clogged nozzle can also cause rough prints. Over time, nozzles degrade and affect extrusion quality. If you’ve been printing for a while, consider replacing your nozzle or cleaning it thoroughly.
6. Inconsistent Filament Quality
Not all filament is created equal. Low-quality or moisture-absorbed filament can lead to uneven extrusion and rough surfaces. Always store your filament in a dry place and use trusted brands for better print quality.
You can improve your results by testing optimized models from our free STL files for 3D printing. These beginner-friendly designs help you identify surface issues and achieve smoother prints faster.
Final Thoughts
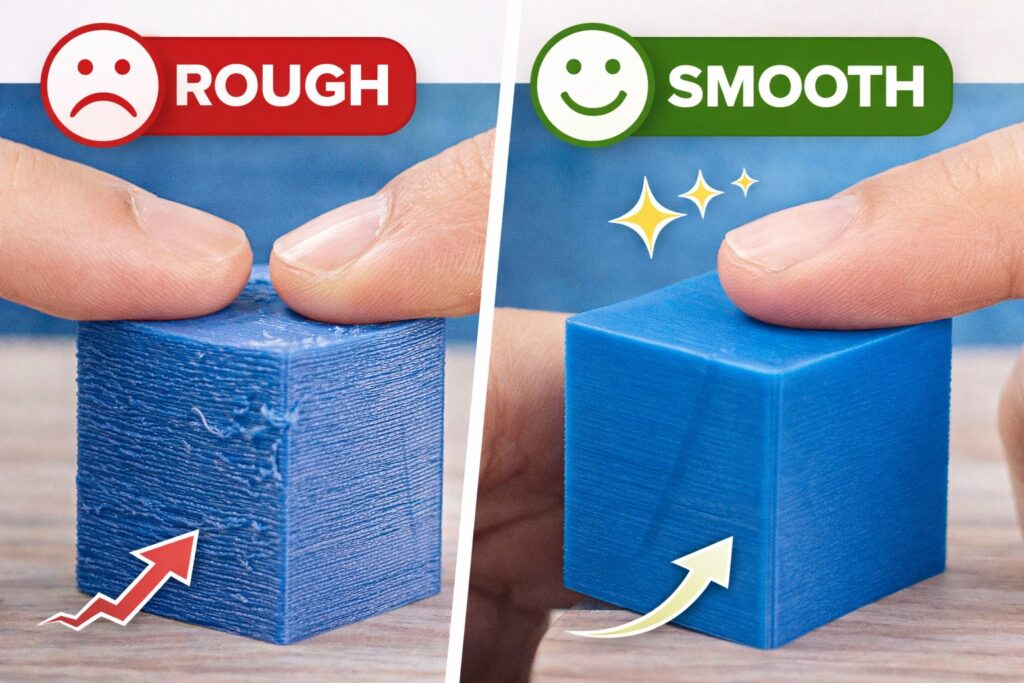
Rough 3D prints can be frustrating, but they are usually easy to fix. By adjusting your layer height, temperature, speed, and cooling settings, you can dramatically improve your print quality. Start with small changes, test your settings, and you’ll quickly achieve smooth, professional-looking 3D prints.
For more detailed information about optimizing print settings and improving surface quality, you can explore official resources from Ultimaker (Cura) and Prusa Research. These platforms provide in-depth guides on layer height, temperature tuning, and advanced 3D printing techniques.